
A day in the life of a mural artist

Being a mural artist is not just about picking up a paintbrush and starting to work on a wall. (I wish!) It’s a blend of creativity, technical skill, problem-solving, and logistics, as well as running your own business. Every day is different, which I love, and each project brings me new highs and lows. I’m taking you behind the scenes to show you what a typical day looks like for a mural artist. From early morning prep to the satisfaction of seeing the final mural, here’s a glimpse into my world.
The early start
I’m a planner, and so I like to get a head start on the day, especially if I’m working on-site. The first thing I do is check my schedule (over a brew) and review my plans for the day. Whether I’m painting, meeting a client, or having an admin day, it’s important to plan my time effectively.

If I’m working on a new mural project, I usually take a moment to review the design and make sure everything is ready. I go over the details of the mock-up design on my tablet to ensure I’m mentally prepared for the day ahead. I mean, I literally talk myself through each step of how to paint it! Haha. It’s the little things that help me focus before diving into a long painting session.
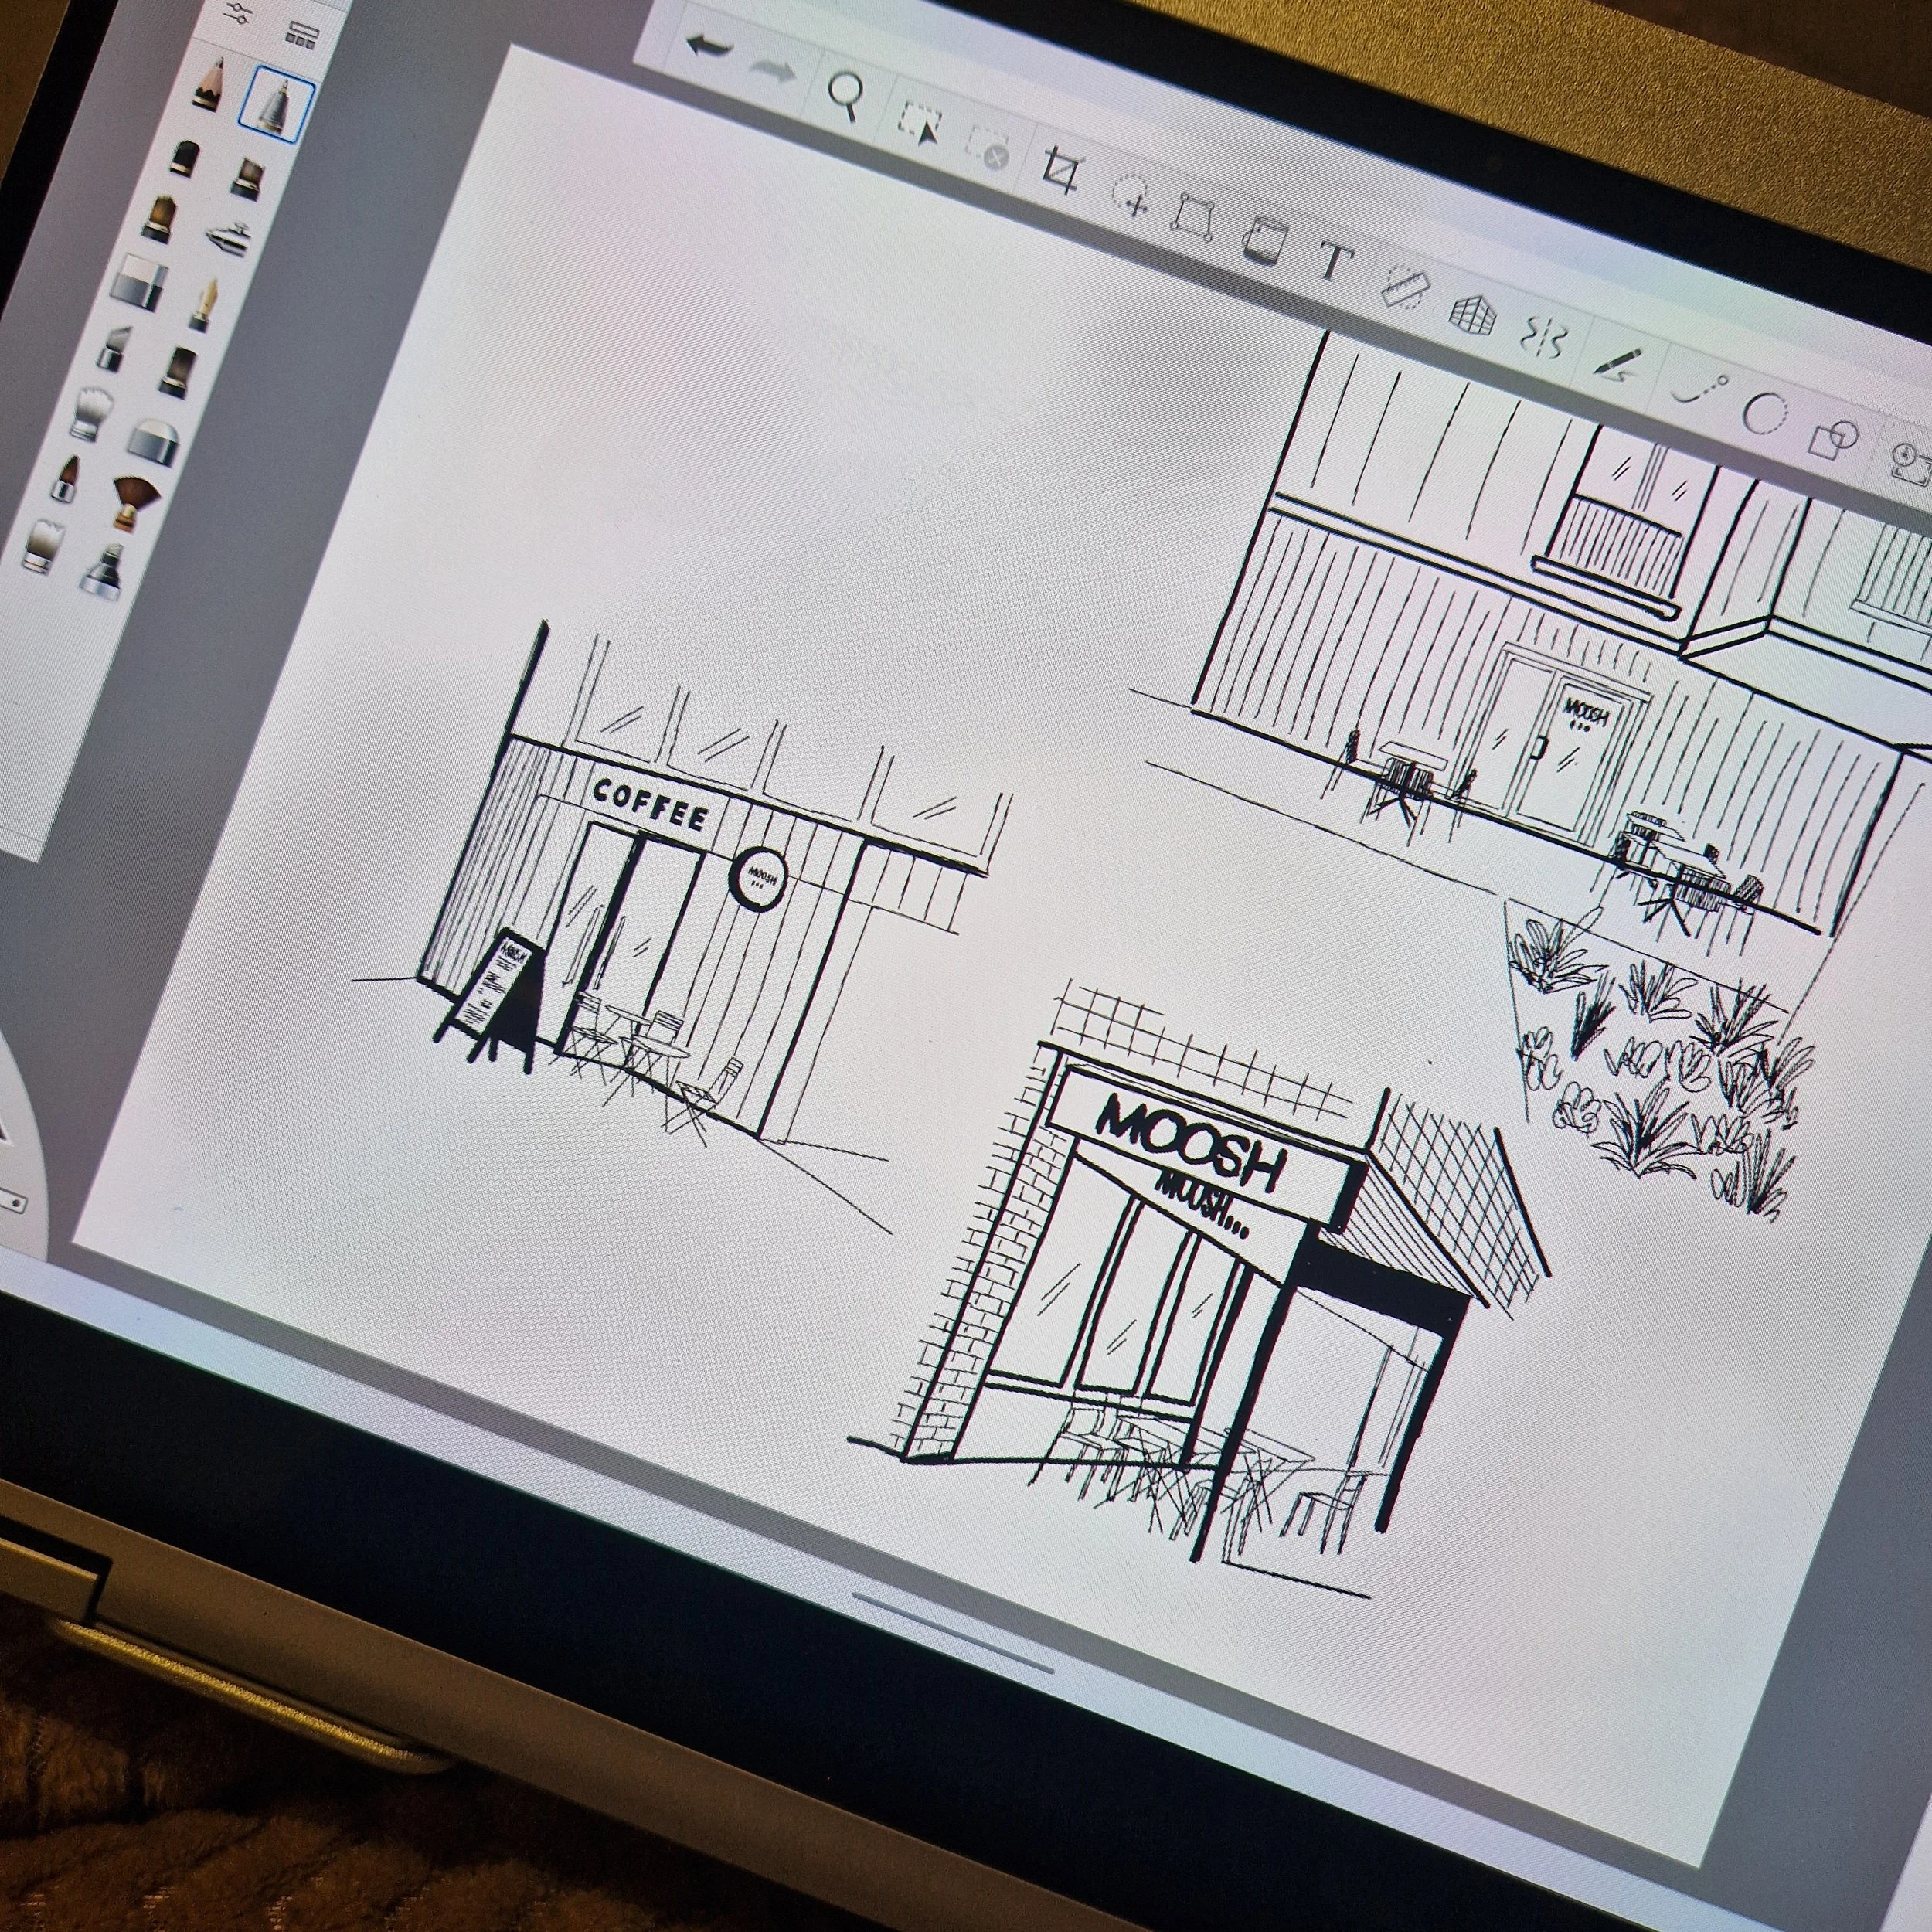
I always draw a digital mural mock-up initially, this helps show the client my vision for their space
Packing up the kit
Once I’ve sorted Norman (the dog) and he's fed and watered, I check over the toolkit. I make sure everything is in my Stanley toolbox, pack my favourite paintbrushes, and ensure I have the right paint for the mural. I also pack dust sheets, my projector (if I’m not using the doodle or grid method to transfer my design onto the wall), and my laser level for accuracy! (super helpful for lettering). These tools make up the basics in my kit, and I don’t go anywhere without them!
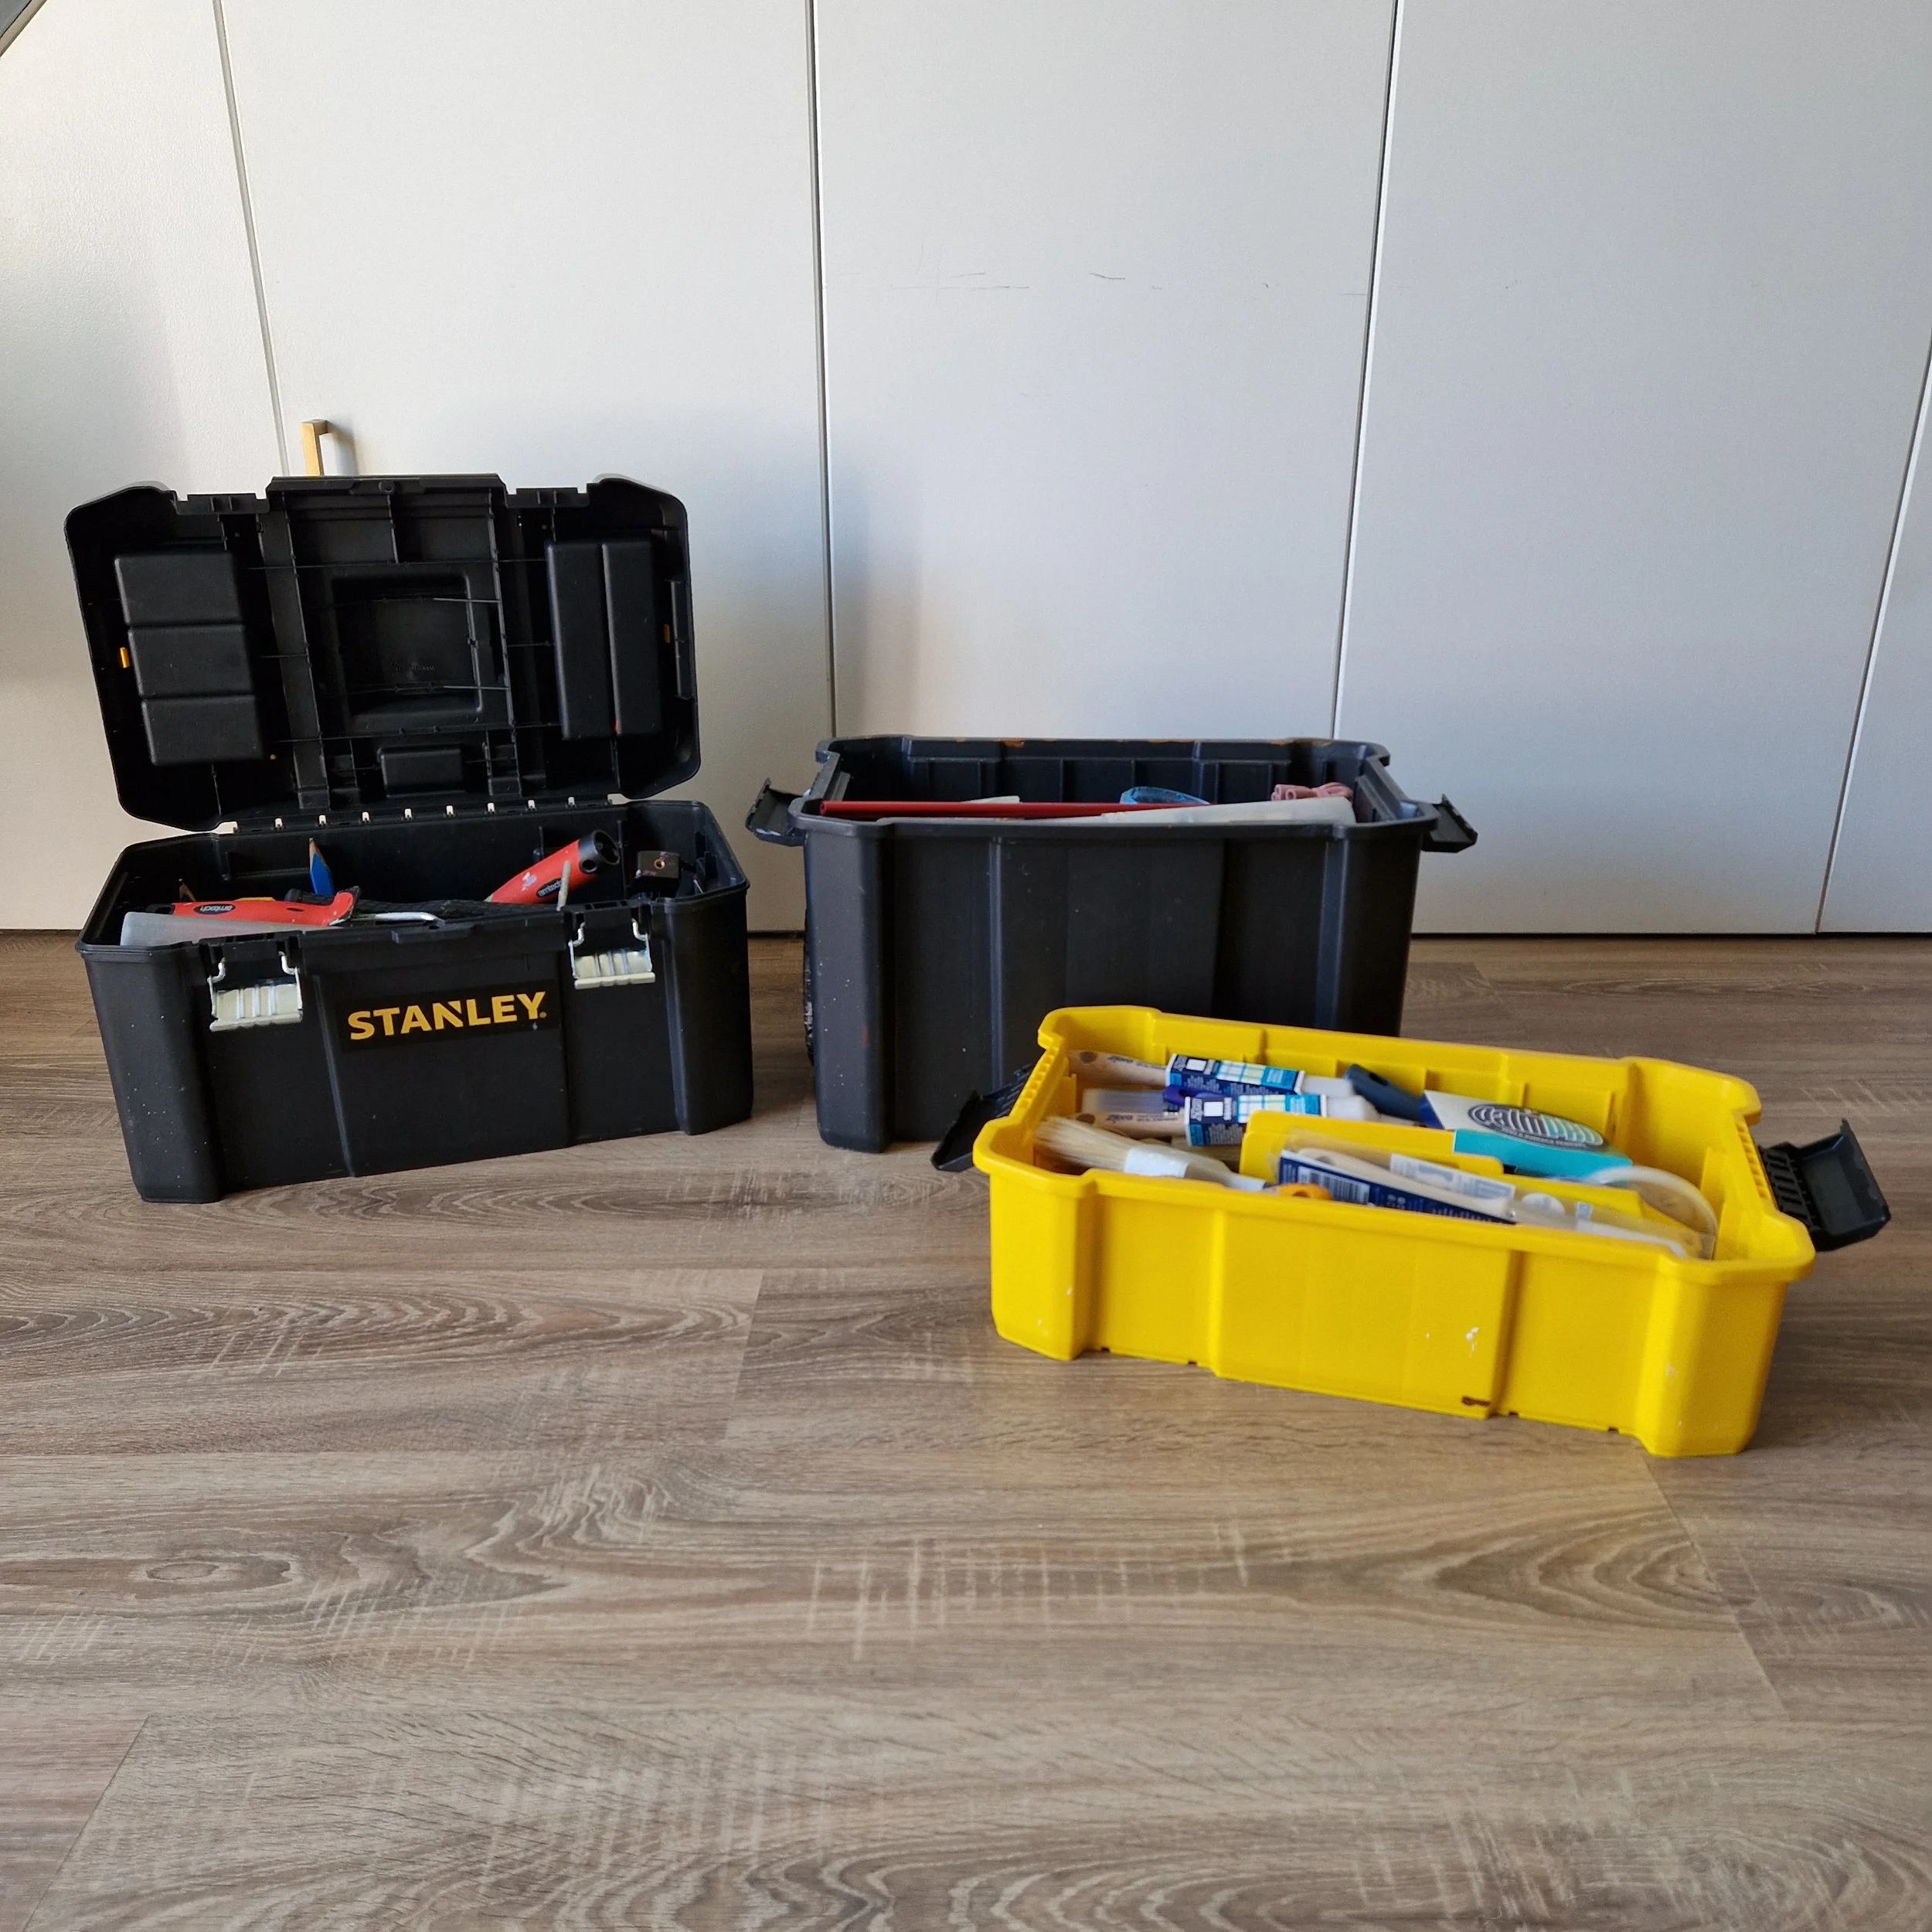
I get all of my kit in this three-tier Stanley toolbox. Plus it’s on wheels for ease!
Site assessment
Once I arrive, I do a site inspection. I always walk around the room or exterior where I’ll be painting, getting a feel for the space and lighting conditions. Whether it’s a school, office, or private home, each environment influences the mood and impact of the mural. It also helps me work out how long I can paint that day based on the natural light availability.
Finally, I talk to the client one more time to confirm the final design and discuss any last-minute adjustments. This could be anything from colour tweaks to small changes in the layout based on feedback or on-site decisions.
Preparing the wall
Before I even think about picking up a paintbrush, the wall needs to be prepped. Depending on the size of the space, this can take a little time. I clean the surface to make sure there’s no dirt, dust, or grease. If necessary, I will repair any imperfections like holes or cracks that could interfere with the painting process. If I have to use a stain blocker, it may mean I have to go back the next day before I can start to paint.
Once the wall is in good shape, I may apply a base coat of primer, especially if the wall is a dark colour or if I’m painting a bright, bold mural. The base coat helps the final colours pop and ensures an even, smooth application.
Transferring the design
Once I’m happy with the prep, I move on to transferring the design onto the wall. I use three methods for this, which I will explain in more detail in another blog post. Most of the time, I use a projector and set this up, adjusting it to the correct angle and height. This allows me to project the digital mock-up design onto the wall, which I then trace carefully. The projector helps me scale the design accurately and ensures I’m working within the exact proportions needed for the space.


For large-scale murals, this step is a huge time-saver and reduces the risk of mistakes, especially when working with detailed designs or lettering.
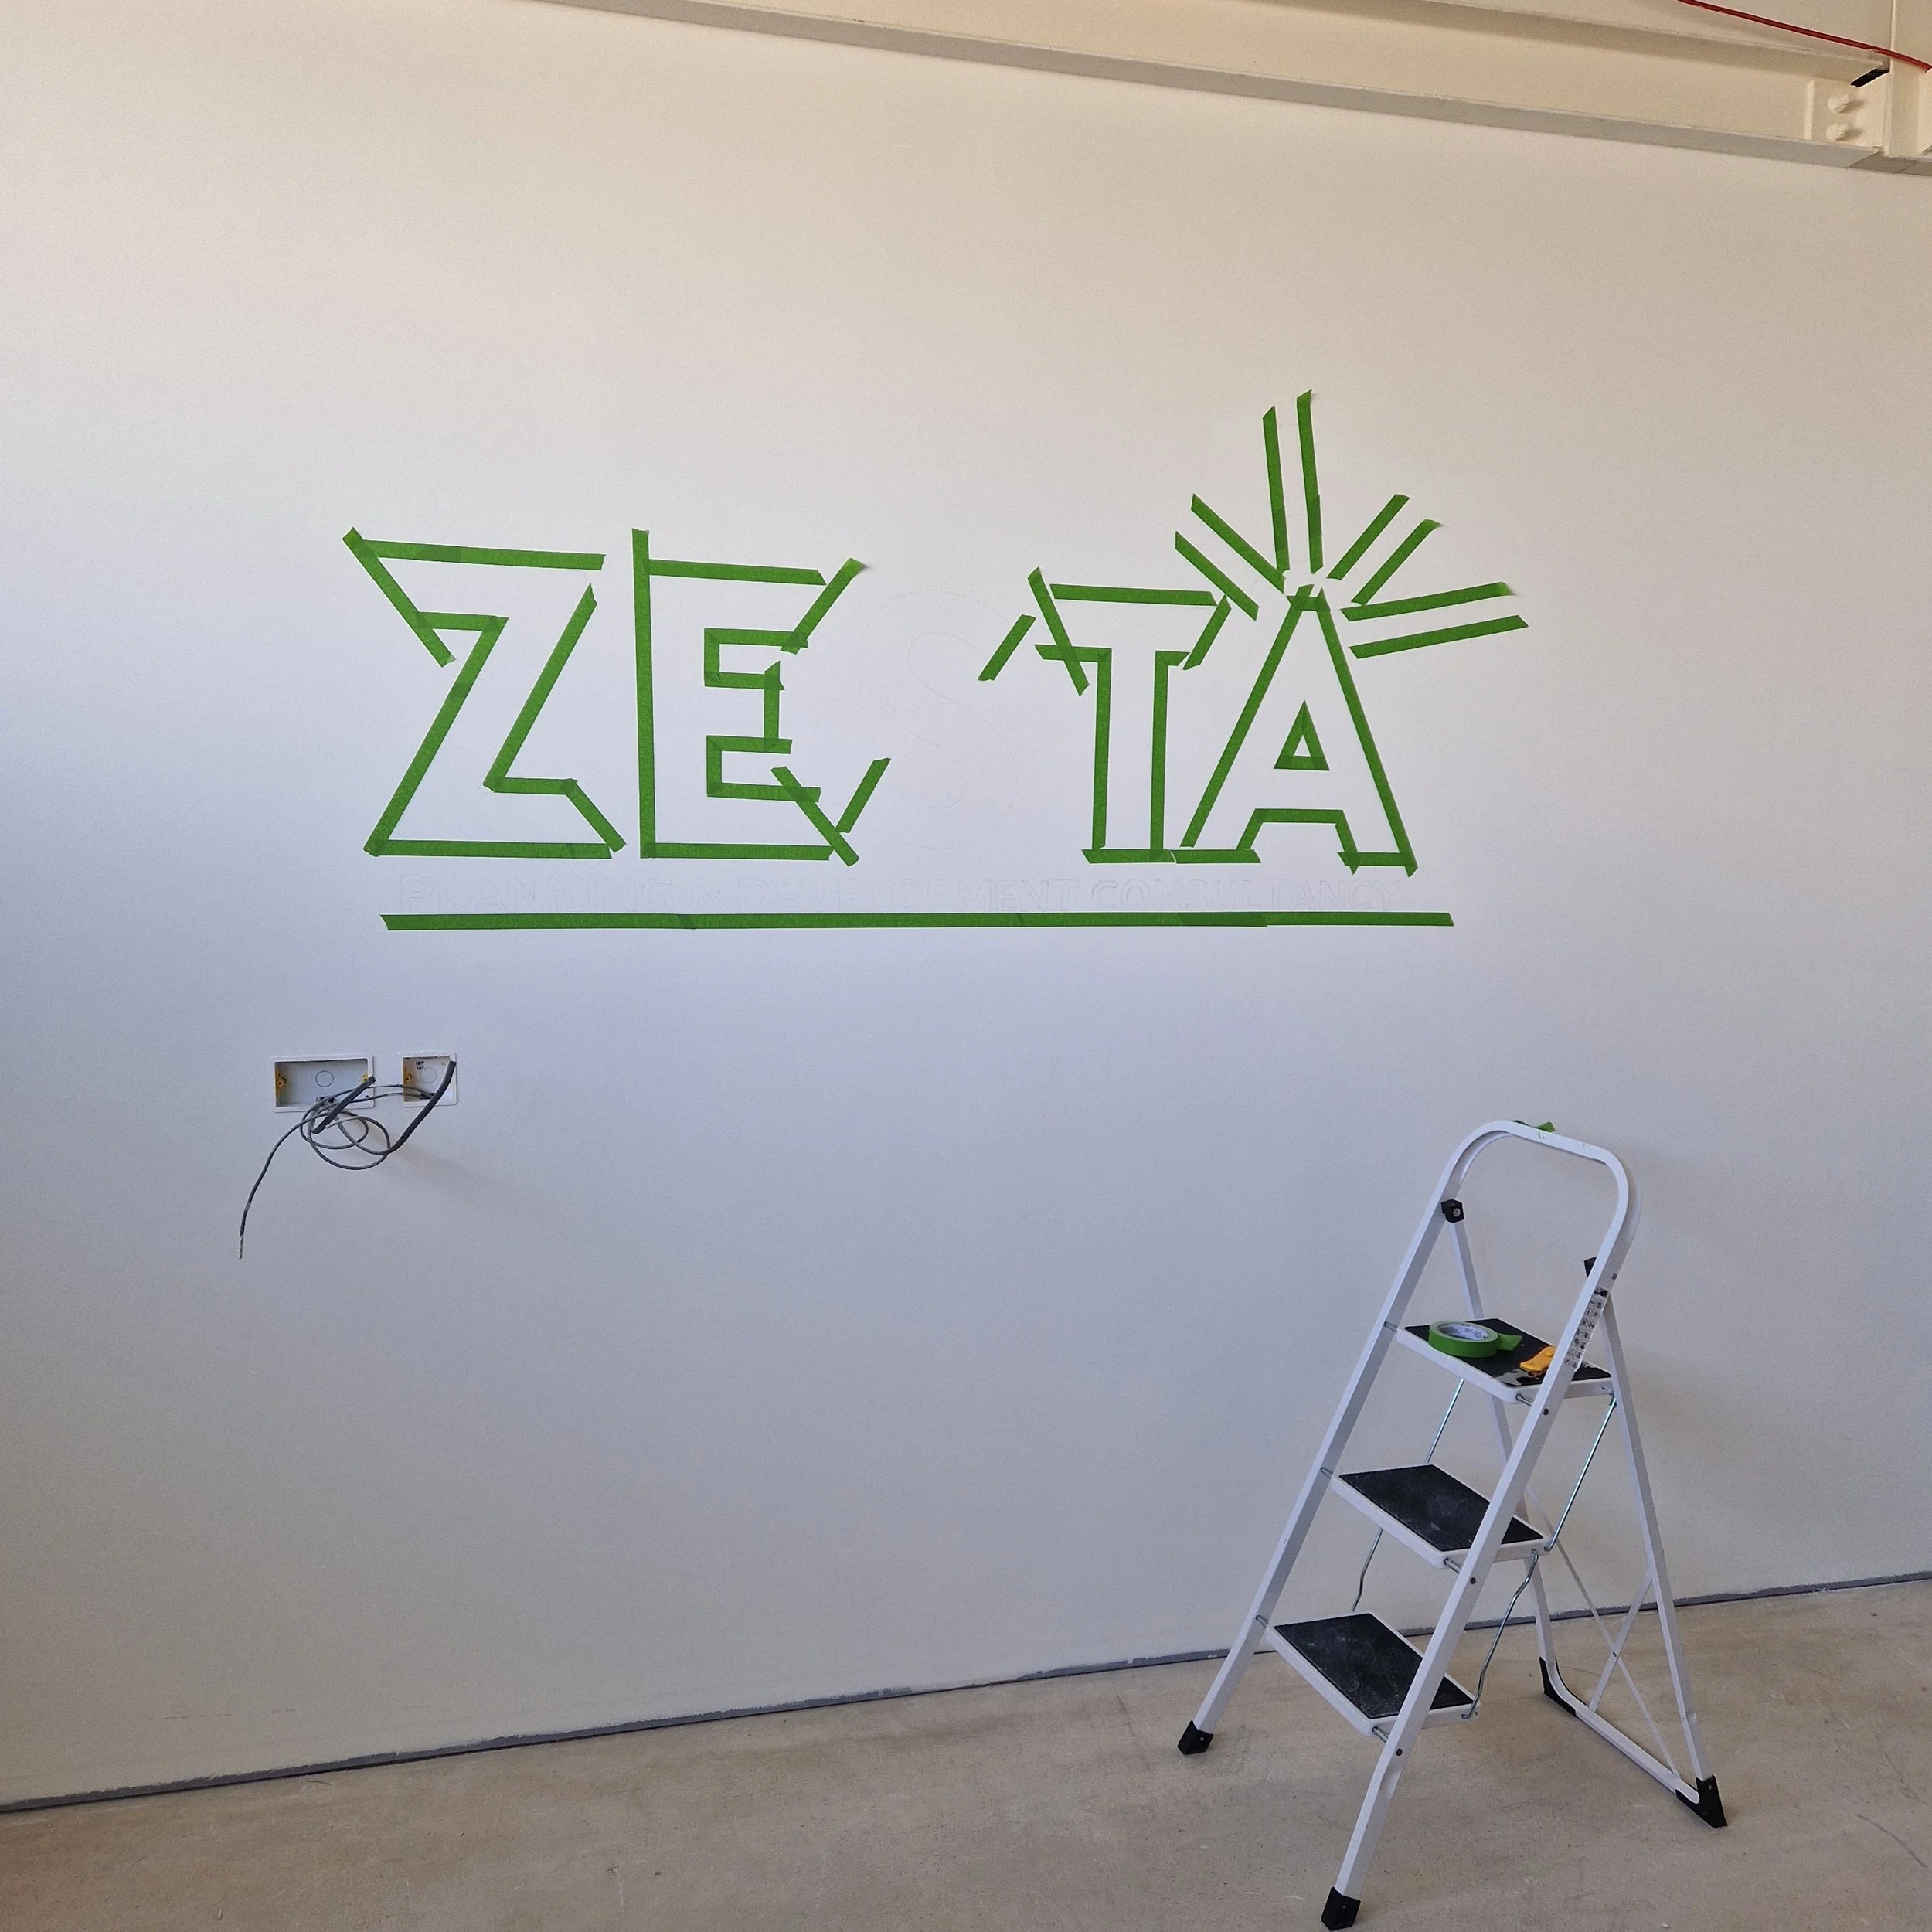
Laser level ensures lettering is spot on, then I can use the projector to transfer the client’s logo exactly where they want it.
Base layers
Once the outline is traced, it’s time to begin painting. I always start with the base layers, which cover the larger areas of the mural. I’m blocking in the main shapes and using wide brushes or rollers for faster coverage.
The base layer might seem like the least exciting part of the process, but it’s crucial. A solid base is the foundation for the rest of the mural.
Adding the detail
Once the base layer is dry, the fun starts. I use fine art brushes for the detailed work, such as adding shading, highlights, and small elements of the design. I love this part as it requires precision and patience. It’s when the mural starts to take shape.


I make any colour adjustments that might be needed, making sure the final effect matches the client’s vision and complements the surrounding environment.
Finishing touches
Finishing touches might include tidying up sharp lines, neatening edges, refining details, or final coats over lighter colours. It’s important throughout the process to take a step back to assess the mural from different angles, ensuring everything is aligned and cohesive.
Sealing the mural
Once the mural is complete and dry (and this can be over a few days/weeks), I apply a clear coat varnish if requested. This ensures the mural stays vibrant and intact for many years. Whether it’s a matte or gloss finish, this step is crucial for the longevity of the mural, especially in high-traffic or areas exposed to the elements.
Final checks
After cleaning up the work area and washing the brushes, I review the mural one last time, making sure it’s exactly as I want it and up to my high standards. I often find taking a picture of the mural and viewing it on my phone helps. Sometimes you can become ‘blind’ to the actual murals themselves after painting for days on end.
If the client is available, I’ll give them a tour of the mural, explaining the creative process and making sure they’re completely happy with the result.
I ensure the site is clean and tidy, just as I found it - another important step in ensuring a positive client experience.
Reflection
I spend time documenting the mural by taking photos or video content throughout, sometimes with a microphone to capture the process. So after it’s all complete, I like to ensure this is safely stored on my laptop, ready to edit. I then use this content for marketing, sharing with my audience, or simply looking back on the evolution of my work.
I also ensure I take any notes of the project, colours used, paint brands, and specifics, as well as feedback or learnings.
Final thoughts
Every day as a muralist is different, filled with new challenges, creativity, and opportunities to learn and grow. From planning and prepping to painting and finalising the mural, each step is crucial in creating something beautiful. The best part of the job is the transformation—the moment when the mural goes from a blank wall to a vibrant work of art that changes the space and inspires the people who interact with it.
Being a mural artist requires not just artistic talent but also patience, problem-solving, and a true passion for the craft. Each day brings something new, but the joy of seeing the final piece completed is always worth the effort.
See you soon
Kate & Norman x